| 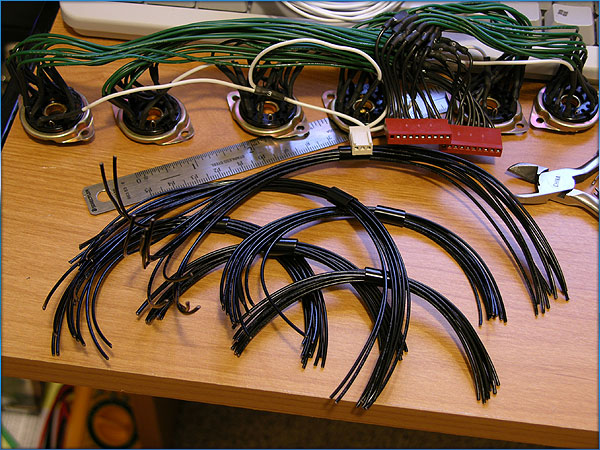
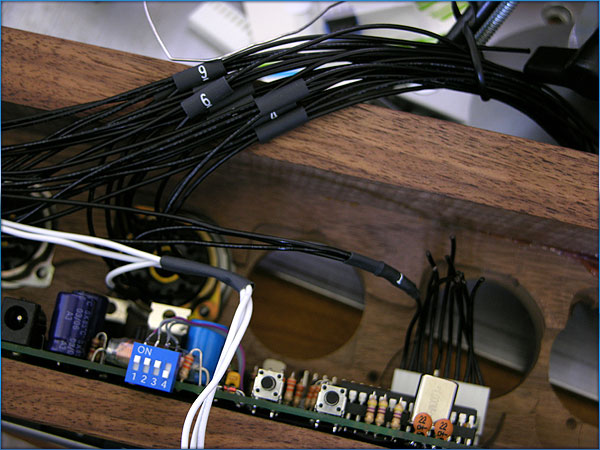
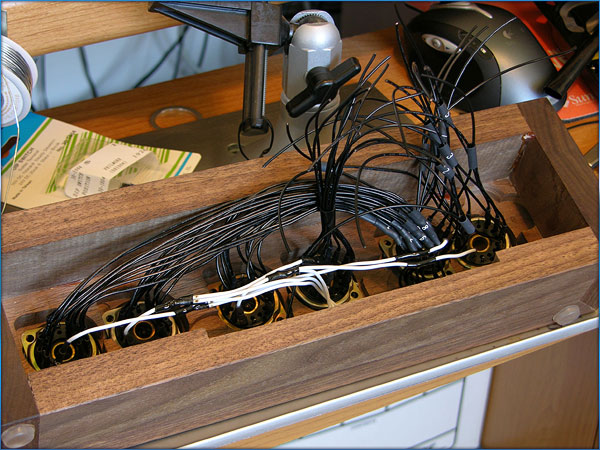
And now begins the most delicate and time consuming part of this clock. The wiring harness. Note the completed wiring harness from my
previous clock in the background. When
complete, the wiring harness will have more than 120 different solder
points.
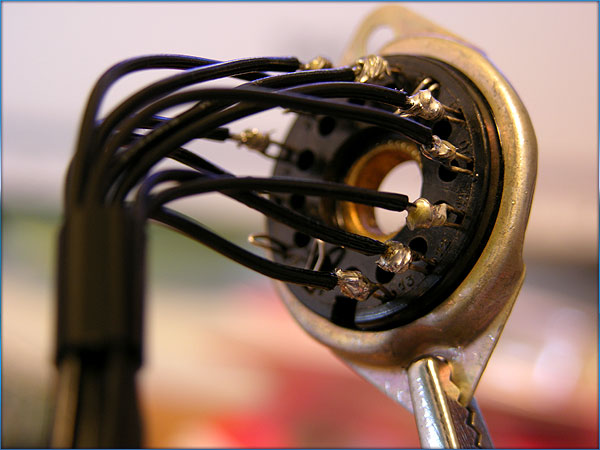
Connecting wires to the socket leads.
One through ten.
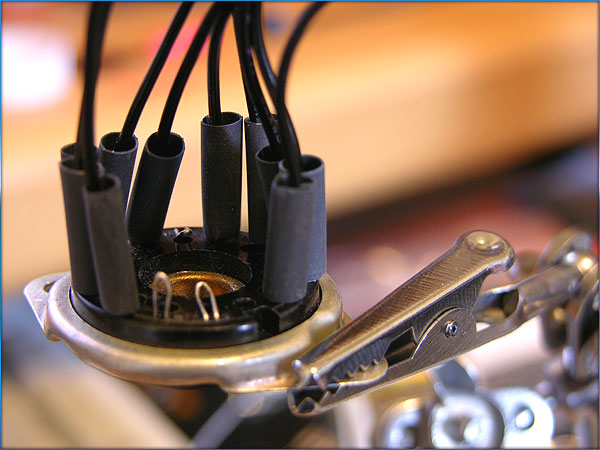
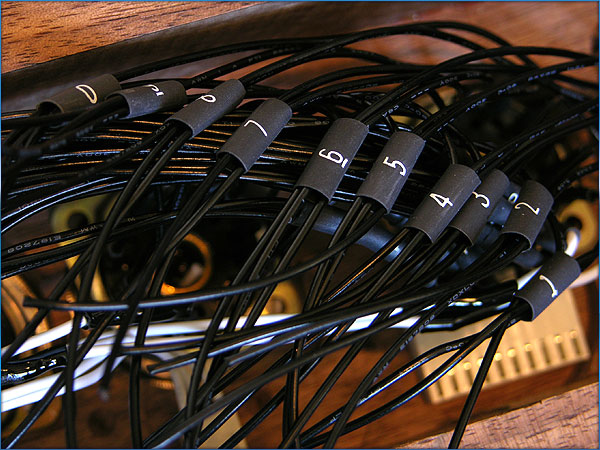
Once the cathode wires are soldered, I fit the heat shrink tubing around them
to protect against shorts and moisture.
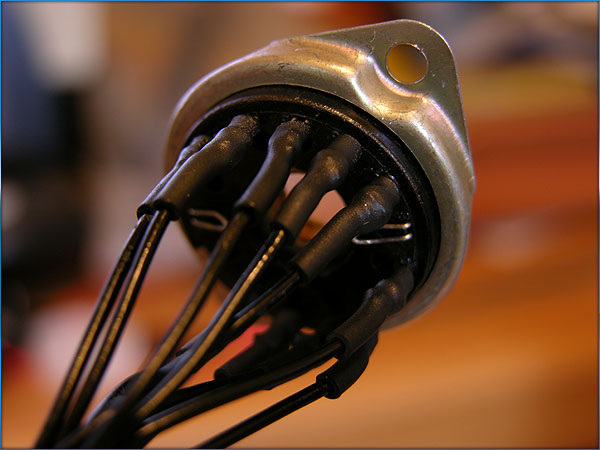
All heat shrunk and ready to go.
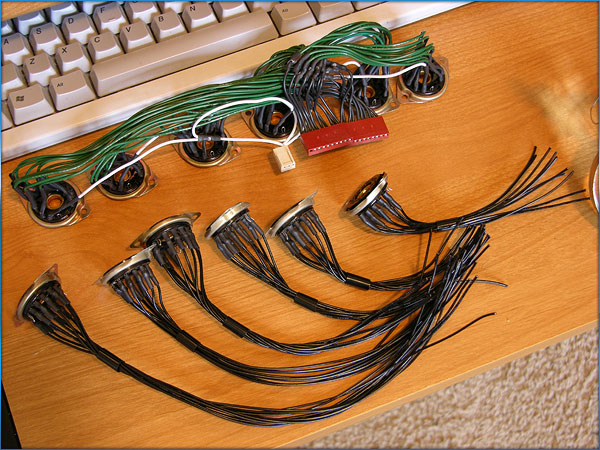
All six tube sockets and wiring for cathodes ready to go. The longest wires go to tube # six.
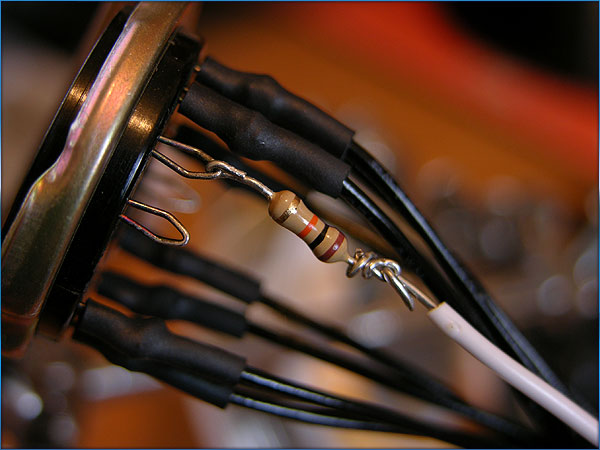
I have to solder an inline 10k resistor between the anode pin and the
controller board somewhere. I chose to
do it here next to the socket for ease of repair if need be. Once soldered and heat shrink tubing is
applied, I do the same for the other 5 tube sockets.
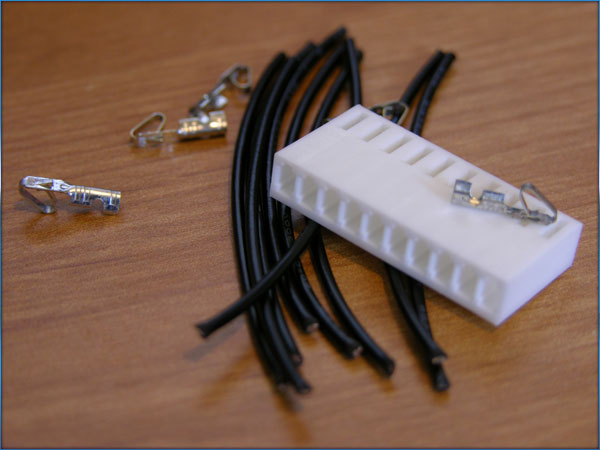
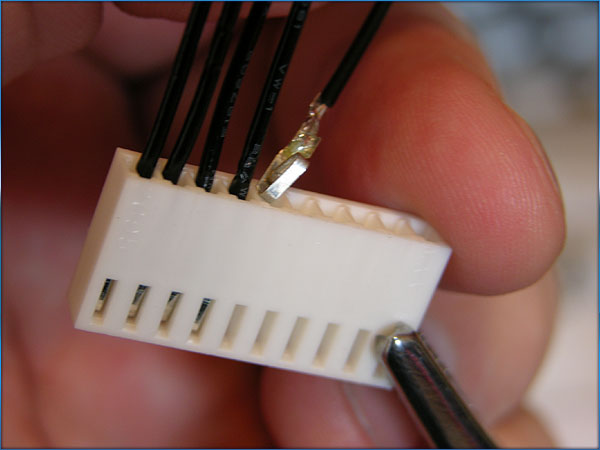
I have to make the plug that attaches to the pinout
connectors on the board. I use the
same 22 gauge wire and crimp connectors.
Crimping them would work, but I go the extra step of soldering them
for a secure, consistent connection.
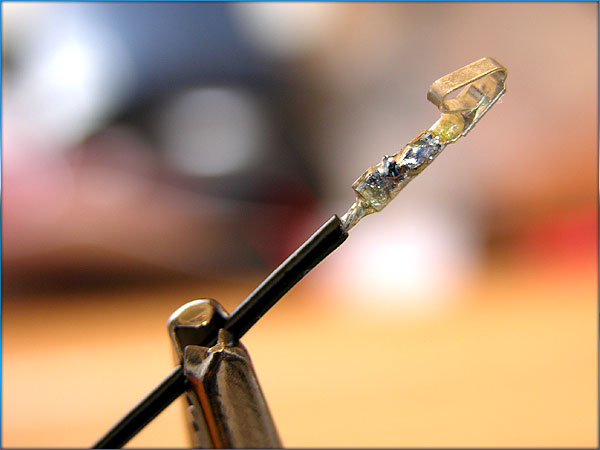
Ready for insertion into the plug body.
15 more after this one, and I’ll have 2 plugs ready for assembly into
the wiring harness.
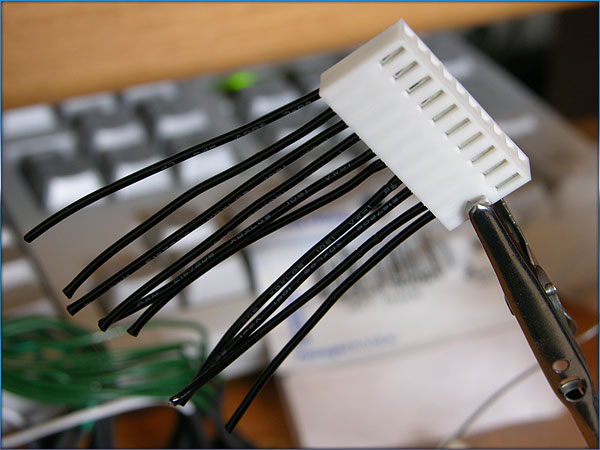
One down, one to go.
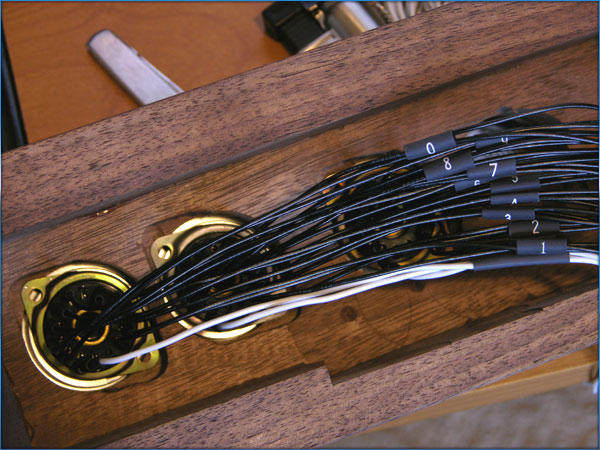
The confusing part: Keeping track of the multiplexed wires. All 70 wires have to start and end in the
correct order. Getting one of
these 140 solder points wrong could lead to numbers lighting up out
of order, or worse, a blown tube. I lay the sockets out inside my previous
clock's housing to get placement and length of leads correct.
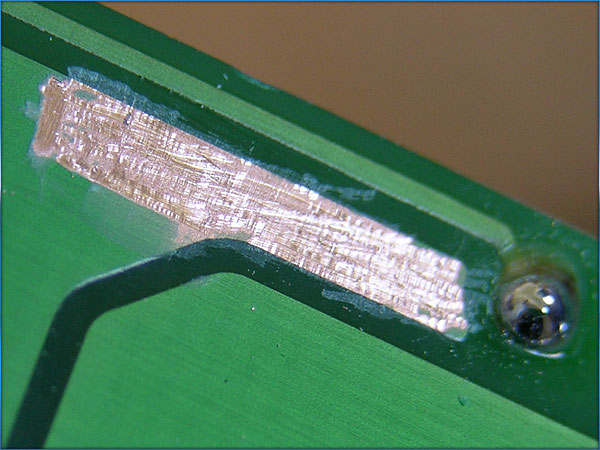
Here's where I scrape the covering off to get to the ground plate. I
need to solder in the 4 position dip switch so that the tube sleep time
may be selected.
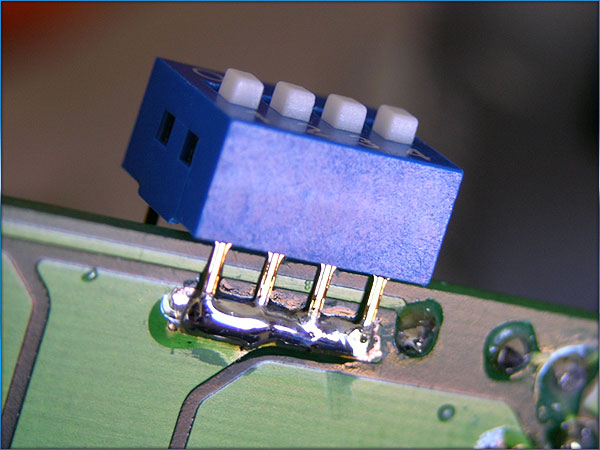
Dip switch soldered to ground.
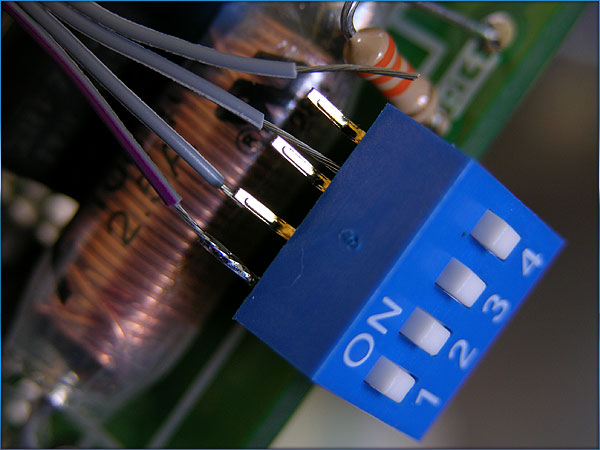
Leads coming off the switch are cut from a PC data ribbon cable.
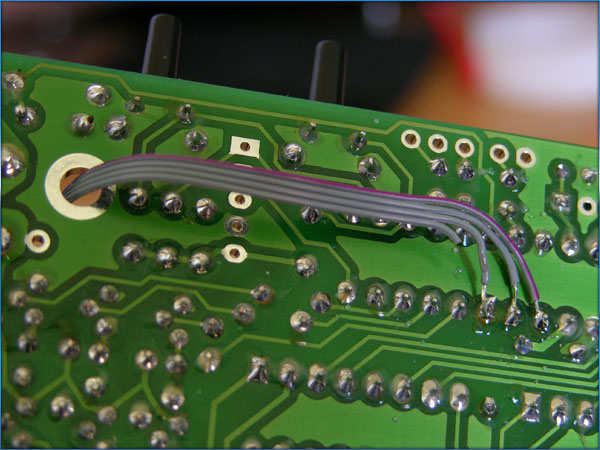
Back view of the board, where the leads from the switch ground out for
selected tube sleep times. Throw all switches, and the tubes will sleep
from 12 midnight to 6 am.
The beginning of the soldering process for the wiring harness.
This is a wiring nightmare. more than 140 different solder points that
have to be done right. I only had one in the wrong spot. I fixed that,
and it's working fine now.
Organizing the last three tubes wiring arrays.

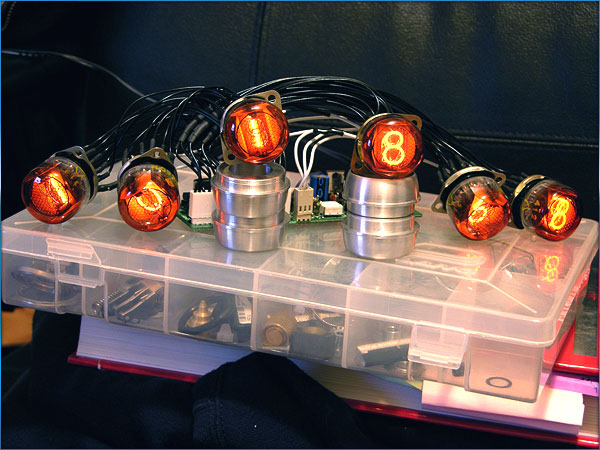
The completed wiring harness, 5 hours later.
|