| 
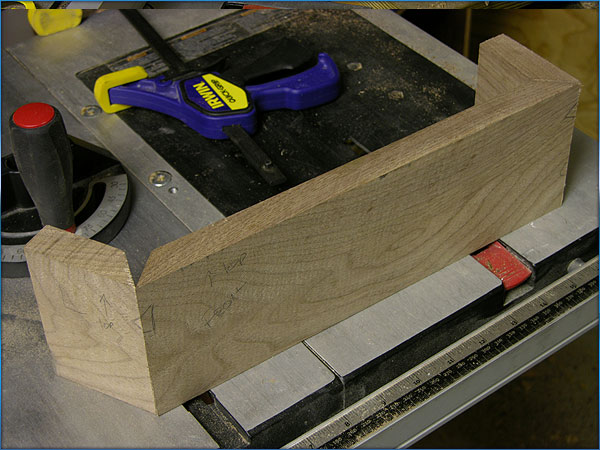
Here's the housing! At least the walnut board I will make it out of.
I have selected the grain I want, and drawn off where my cuts will be
so that the grain follows and matches around the corners.
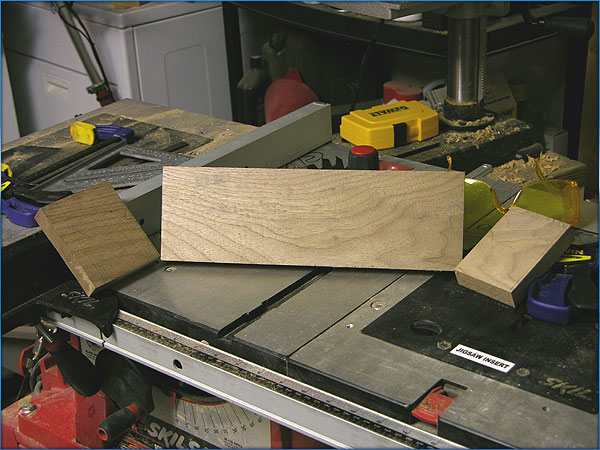
The front and sides of the box.
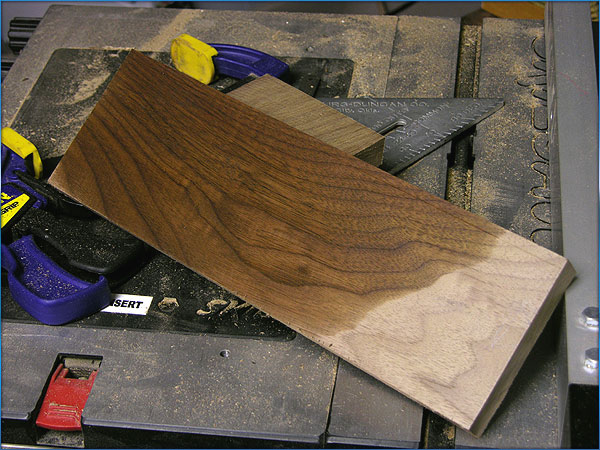
Here I pass some mineral spirits across the front to see what figuring
the grain will have once it's finished. This will evaporate, but will
give me a good idea of what the grain will look like when I am done.
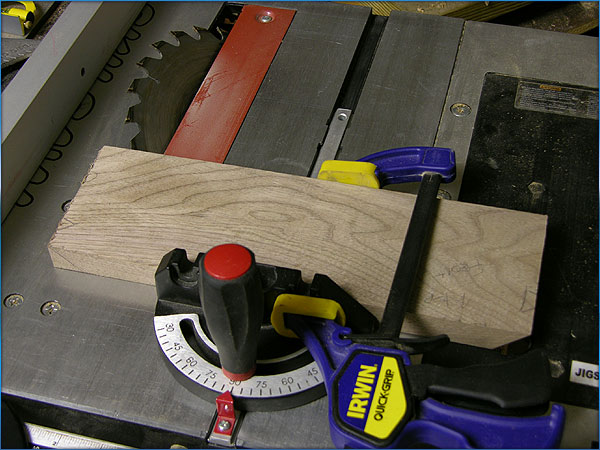
Making the 45 degree cuts for the box joints.
Grain follows around the box. Nifty!
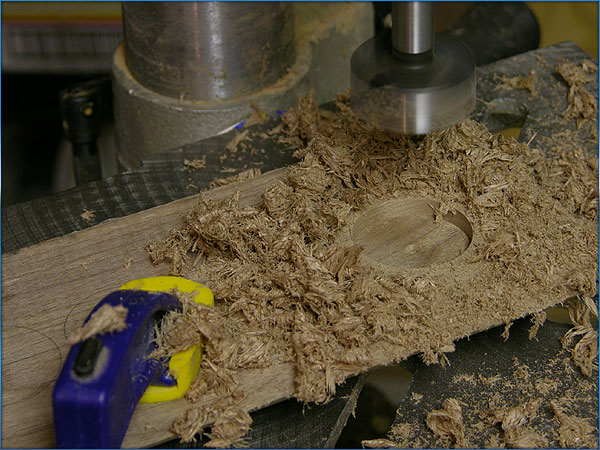
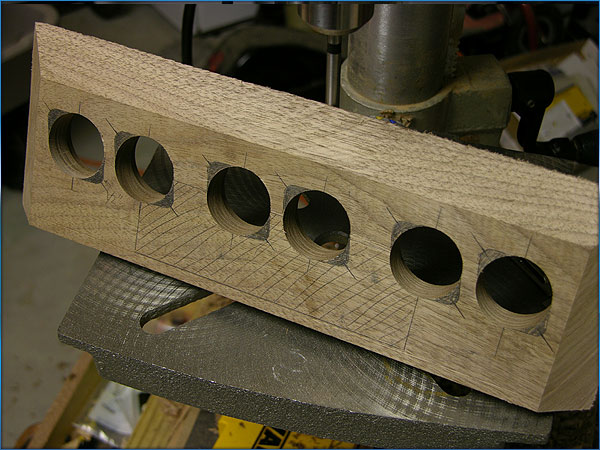
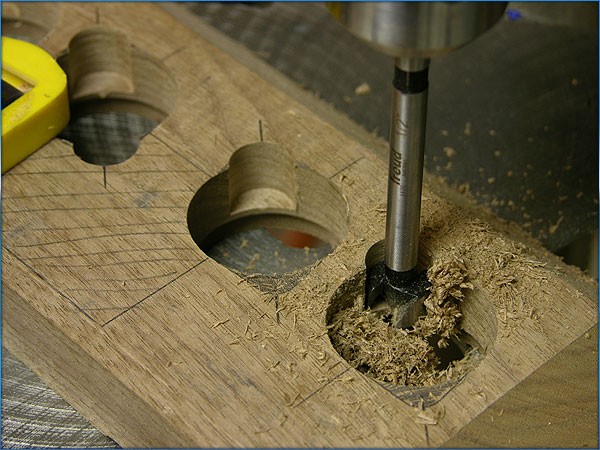
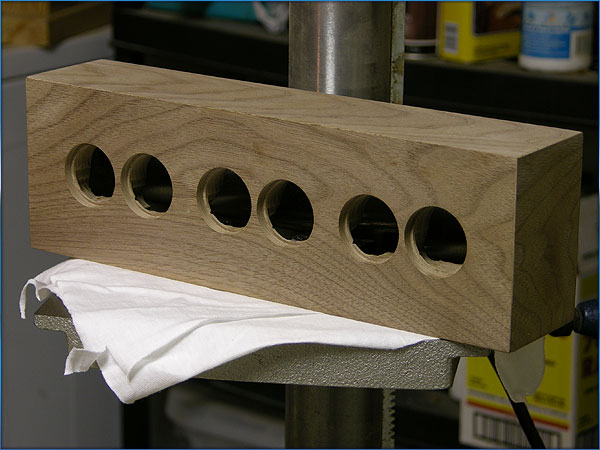
Making the first tube bezel hole.
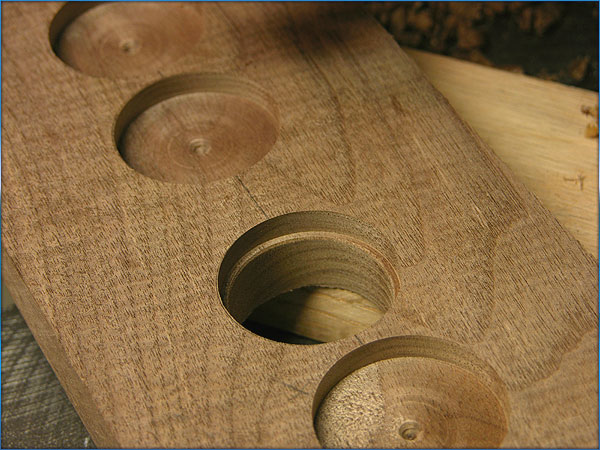
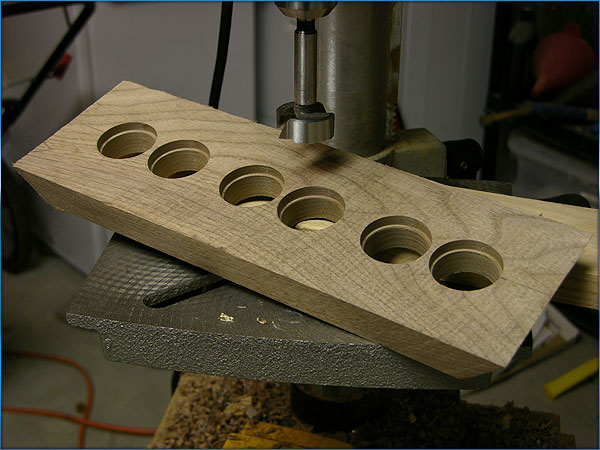
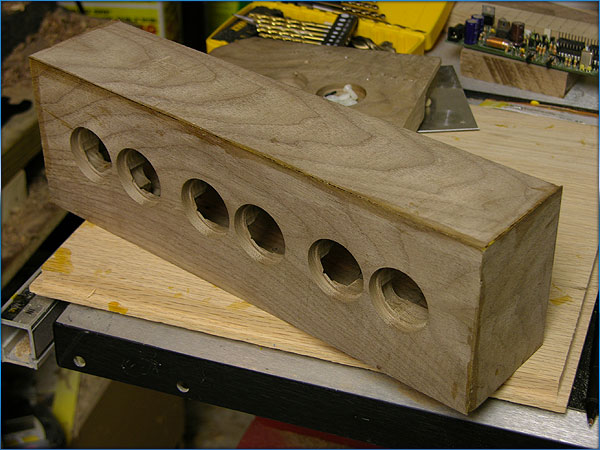
Outer holes are cut, now to drill through for the sockets.
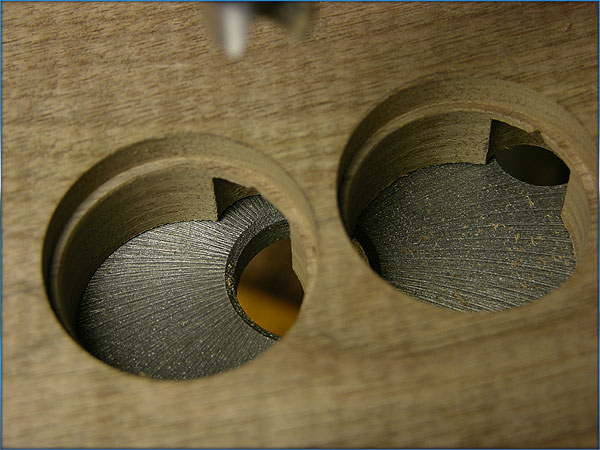
Through cut holes are complete, now to decide how to cut away from the
back so that the sockets will fit.
Here I have drawn where I need cuts for the sockets and the circuitboard.
These cuts have to be very precise for correct alignment of the tubes.

And we're almost done with the back!
Tube holes from the front of the clock.
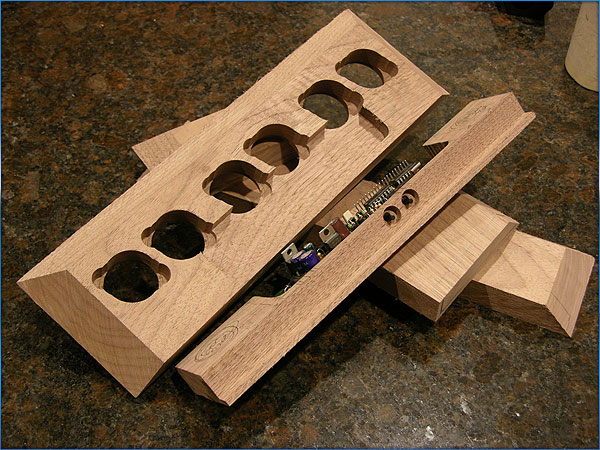
The pieces cut to spec, starting to drill out holes for buttons, routing
out the tray for the circuitboard.
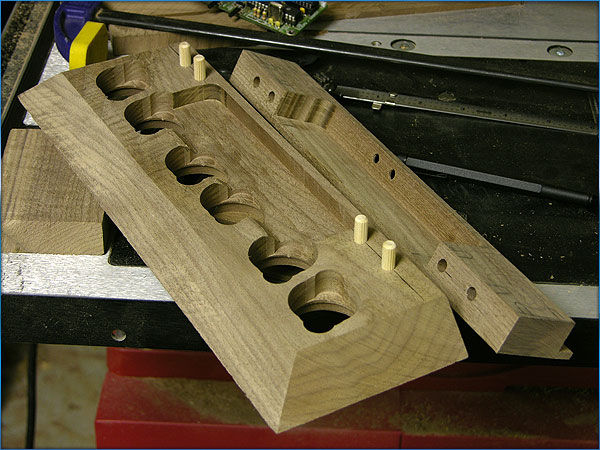
Dowels in place to strengthen the joints.
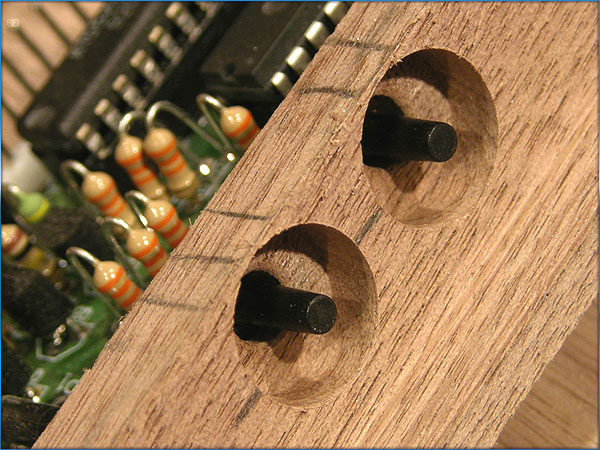
Close up of the holes for the set and dim buttons.
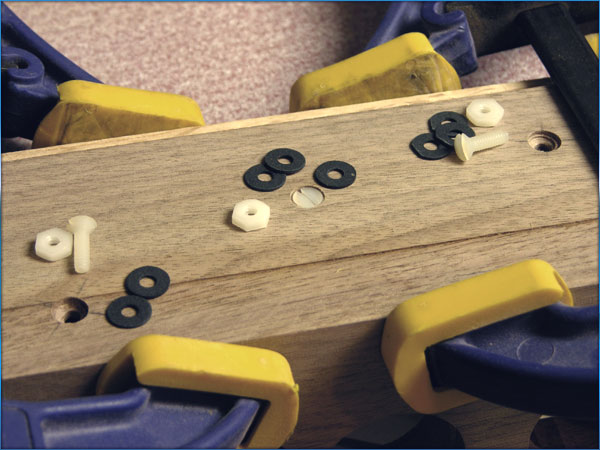
I am using nylon screws and nuts to remove risk of shock from the exterior
of the clock.
These will mount the circuitboard to the box.
Laying out how I want the back panel recess to be cut. I'll make the
back panel out of aluminum.
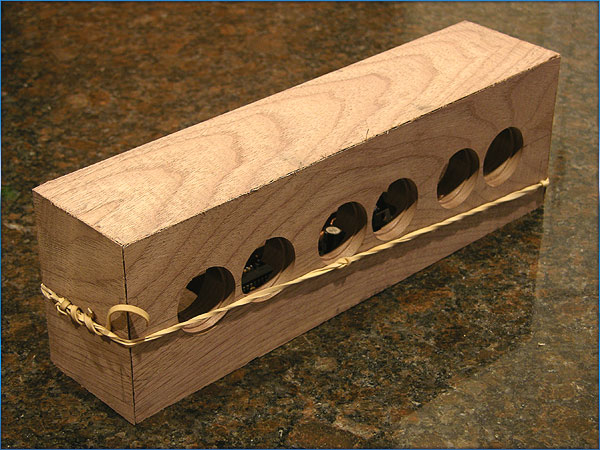
Front left grain wrap.
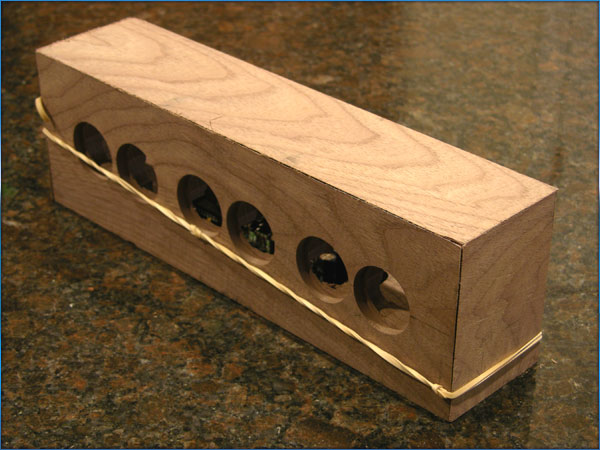
Front Right Grain wrap.
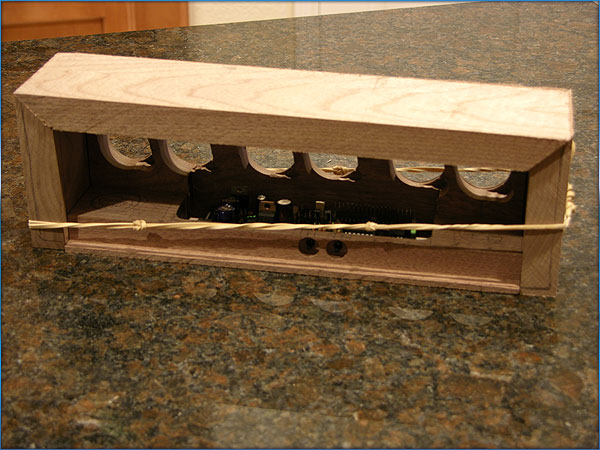
All glued up, ready to rough sand.
Sanding about finished, now to finish drilling the holes in the back
aluminum panel.
|