|
Welcome to my Pen & Pencil page.
I make high quality, precision drawing pencils and pens.
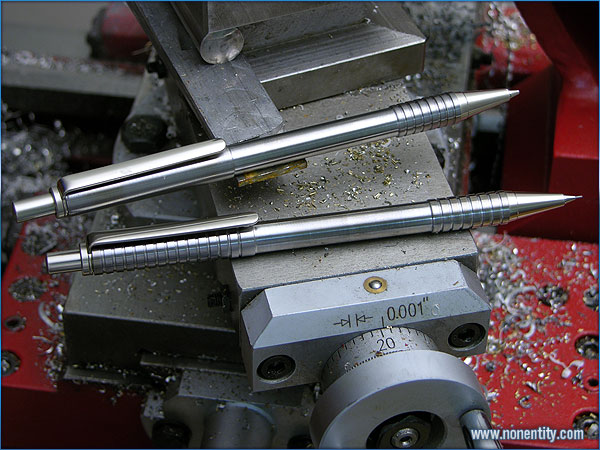
Zephyr Mechanical Pencil #1 (prototype) above Zephyr #2
Click here to get a large image.
I'll make you one! Each meticulously handcrafted Stainless steel pen or pencil is $100 plus shipping. Stainless steel, pretty
much indestructible. Sets available, options and custom pieces too.
Email me for info at
bradley@nonentity.com
Paypal preferred, thanks!
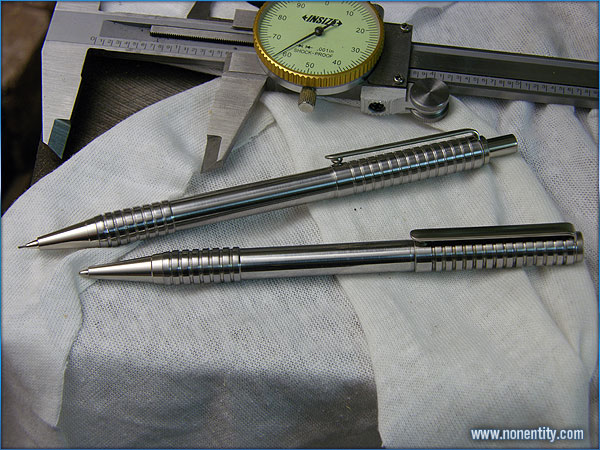
Here we have a ballpoint pen, twist cap activation alongside the mech.
pencil.
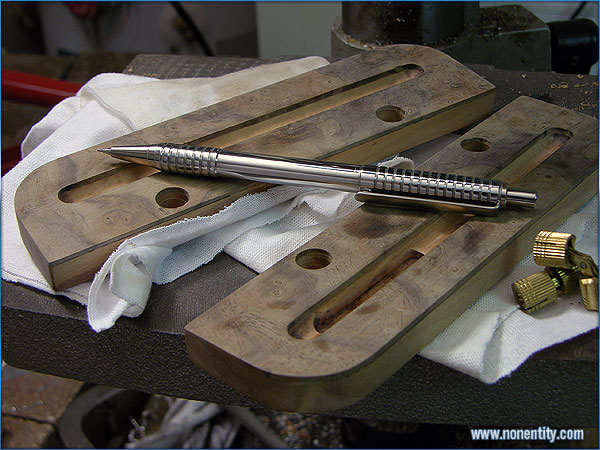
In the process of making a presentation box for Zephyr #4. The
box is bookmatched walnut burl on top of bookmatched cherry. Brass
hidden hinges.
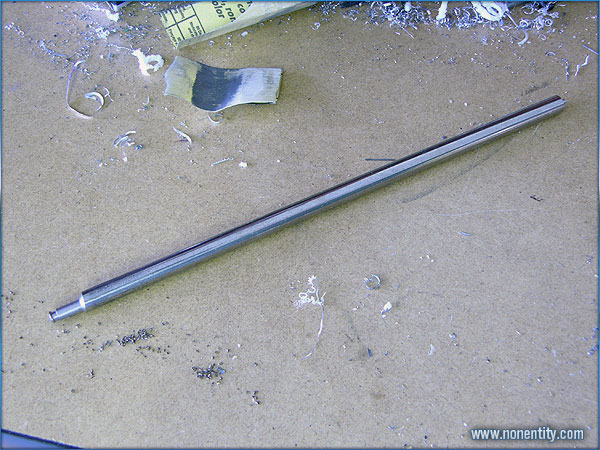
I started with this steel rod I got out of a copier.
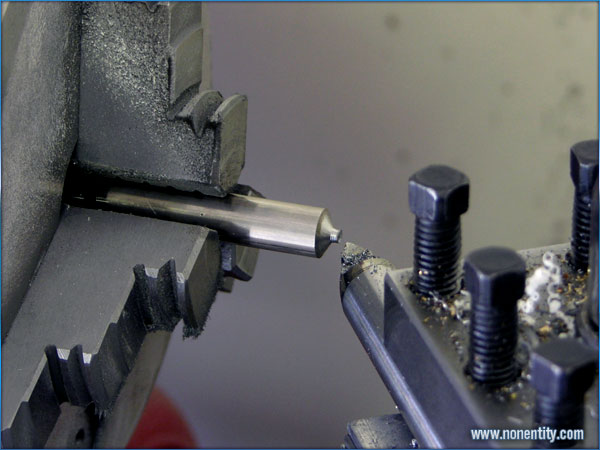
I had to face off the end of the rod, so I could drill it out.
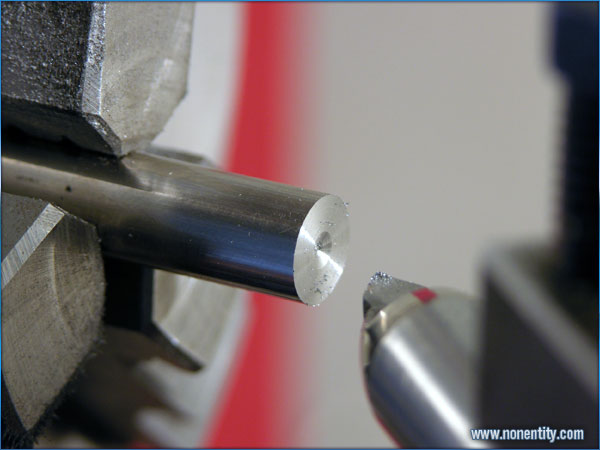
After it was faced off flat, I press a divot into the center, to allow the
drill bit to find purchase.
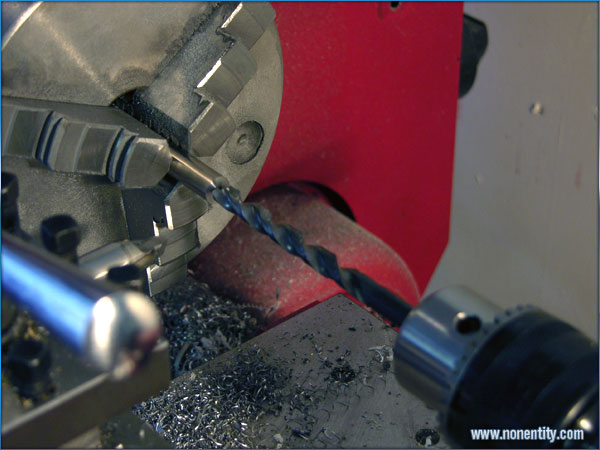
Here we go, about to drill out the main hole for the internal mechanism.
A 9 dollar MT2 drill chuck from Harbor Freight makes this possible.
It holds the drill bit
Still, while the stock rotates around it.
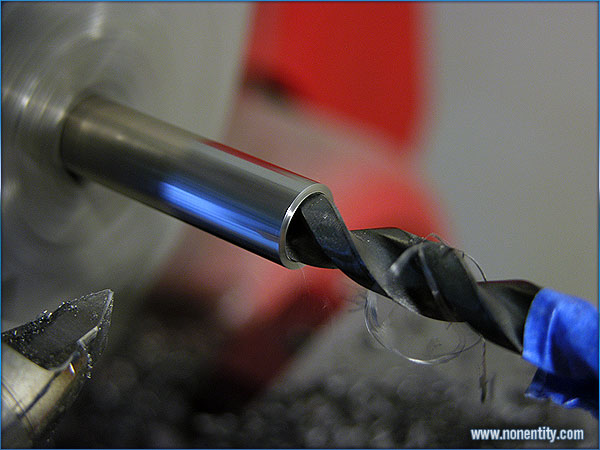
After I get the first set of holes drilled, two concetric holes one at
7mm, one at a smaller size,
I have to part off the body and flip it around for the other set of holes.
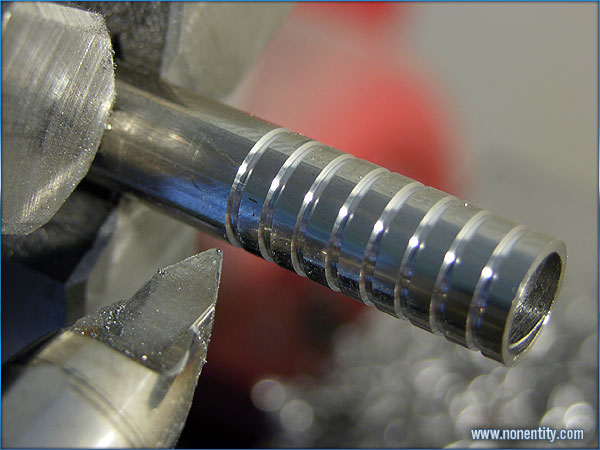
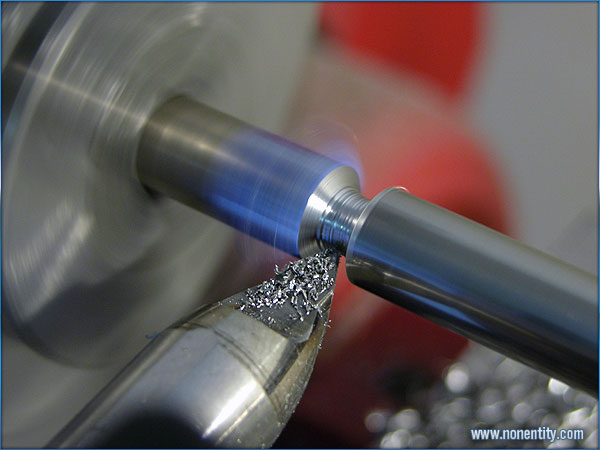
Once I get the body to the proper length, I begin grooving the pencil
grip. One 1/16th deep groove every ten clicks of my longitudinal
wheel.
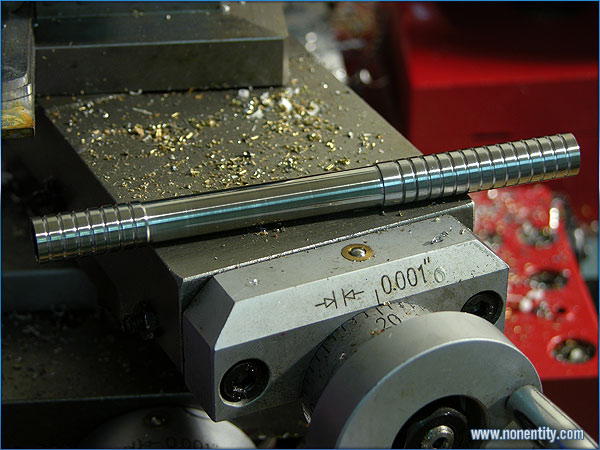
here's the case ready for polishing and assembly. Once I get the
internal stuff cut to fit,
It'll press together.
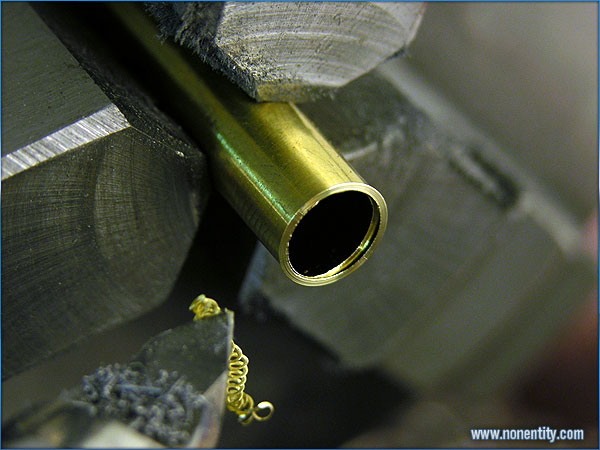
I have to cut the bushings to fit, these compress against the internal
mechanism and keep
it together once assembled.
And here we are done! I think it's an improvement over my first one,
it definitely has a
better polish job.
|